DIY Tips for Installing a Channel Drain in Your Kalispell Property


Understanding Channel Drains
Channel drains are essential for efficient water management, especially in areas prone to heavy rainfall like Kalispell. They help direct water away from structures, preventing flooding and water damage. Before you start your DIY project, it's crucial to understand the basics of how channel drains work and their importance in maintaining your property's integrity.
These drains are typically installed in driveways, patios, or any other surface areas where water accumulation is a concern. By capturing and redirecting runoff water, channel drains protect your landscape and foundation. Whether you're a seasoned DIY enthusiast or a beginner, installing a channel drain can be a manageable project with the right guidance.

Gathering Your Tools and Materials
Before diving into the installation process, ensure you have all necessary tools and materials. You'll need the channel drain kit, a trench shovel, a level, gravel, concrete mix, and PVC glue. Having everything on hand will streamline the process and prevent unnecessary delays.
It's also wise to check local regulations regarding drainage systems in Kalispell. Some areas may have specific requirements or permits needed for installation. Doing your homework beforehand can save you from potential legal headaches.
Planning Your Installation
Effective planning is crucial for a successful installation. Start by deciding the best location for your channel drain. Consider areas where water tends to pool or where drainage issues are most prevalent. Mark the path where the drain will be installed.
Next, determine the slope needed for proper water flow. A slight incline is necessary to ensure water moves efficiently through the drain. Use a level to check the slope, adjusting as needed. Proper planning at this stage will make the installation process smoother.
Excavating the Trench
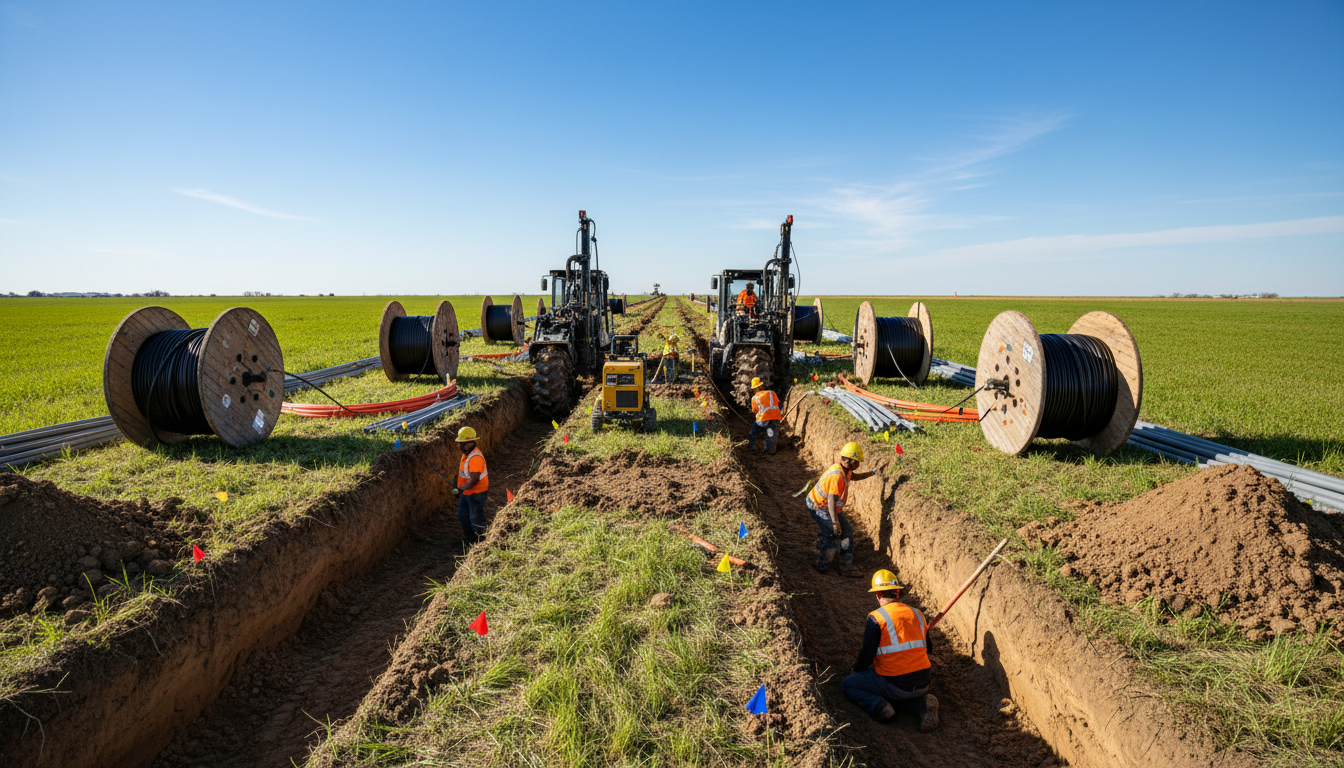
With your plans in place, it's time to excavate the trench for your channel drain. Use a trench shovel to dig a trench that matches the dimensions of your drain. The trench should be deep enough to accommodate the drain and the necessary gravel and concrete base.
Once the trench is dug, add a layer of gravel to promote drainage. The gravel will help stabilize the drain and ensure water flows properly. Compact the gravel layer to create a solid foundation for your channel drain.
Installing the Channel Drain
After preparing the trench, position the channel drain in place. Ensure it's level and aligned with the planned slope. Connect sections of the drain using PVC glue, following the manufacturer's instructions for a secure fit.
Once the drain is in position, mix and pour concrete around the edges to secure it in place. The concrete will provide stability and prevent the drain from shifting over time. Allow the concrete to cure fully before testing the drainage system.
Testing and Final Touches
After installation, it's important to test your channel drain to ensure it's functioning correctly. Pour water at the highest point of the drain and observe the flow. The water should move smoothly through the drain without pooling.

If the drainage is satisfactory, add any final touches, such as grates or coverings, to complete the project. Ensure everything is secure and aesthetically pleasing, complementing the overall look of your property.
Maintaining Your Channel Drain
Once installed, regular maintenance is key to keeping your channel drain functioning optimally. Clear debris and leaves from the drain regularly to prevent blockages. Check for any cracks or damage and repair as needed to extend the life of your drain.
By following these DIY tips, you can successfully install a channel drain on your Kalispell property, enhancing its value and safeguarding it against water damage. Enjoy the peace of mind that comes with effective water management.